Mint hypercerts
Who Can Mint a Hypercert?
Any project that is creating positive impact can create a hypercert that represents their work and its impact.
You can mint hypercerts for your project's work over a specific time period, such as a year or a quarter. Ideally, this work should be tied to clearly identifiable outcomes. You can also define subprojects with distinct, measurable outcomes to provide greater clarity and specificity.
How Can I Mint a Hypercert?
First, go to the New Hypercert page with a wallet-enabled browser.
Next, connect your wallet. You will be prompted to switch to a compatible network. Make sure you mint the hypercert on your preferred chain.
Fill out the form. If you have questions about the fields, you'll find more detailed step-by-step explanations below. That's it! After you click "Mint hypercert" and confirm the transaction in your wallet, you will have created your first hypercert.
We recommend minting your first hypercert on a testnet, which you can do on testnet.hypercerts.org. It is the exact same form and you can walk through the process once before creating a hypercert on mainnet.
Step-by-Step Instructions
General information (first tab)

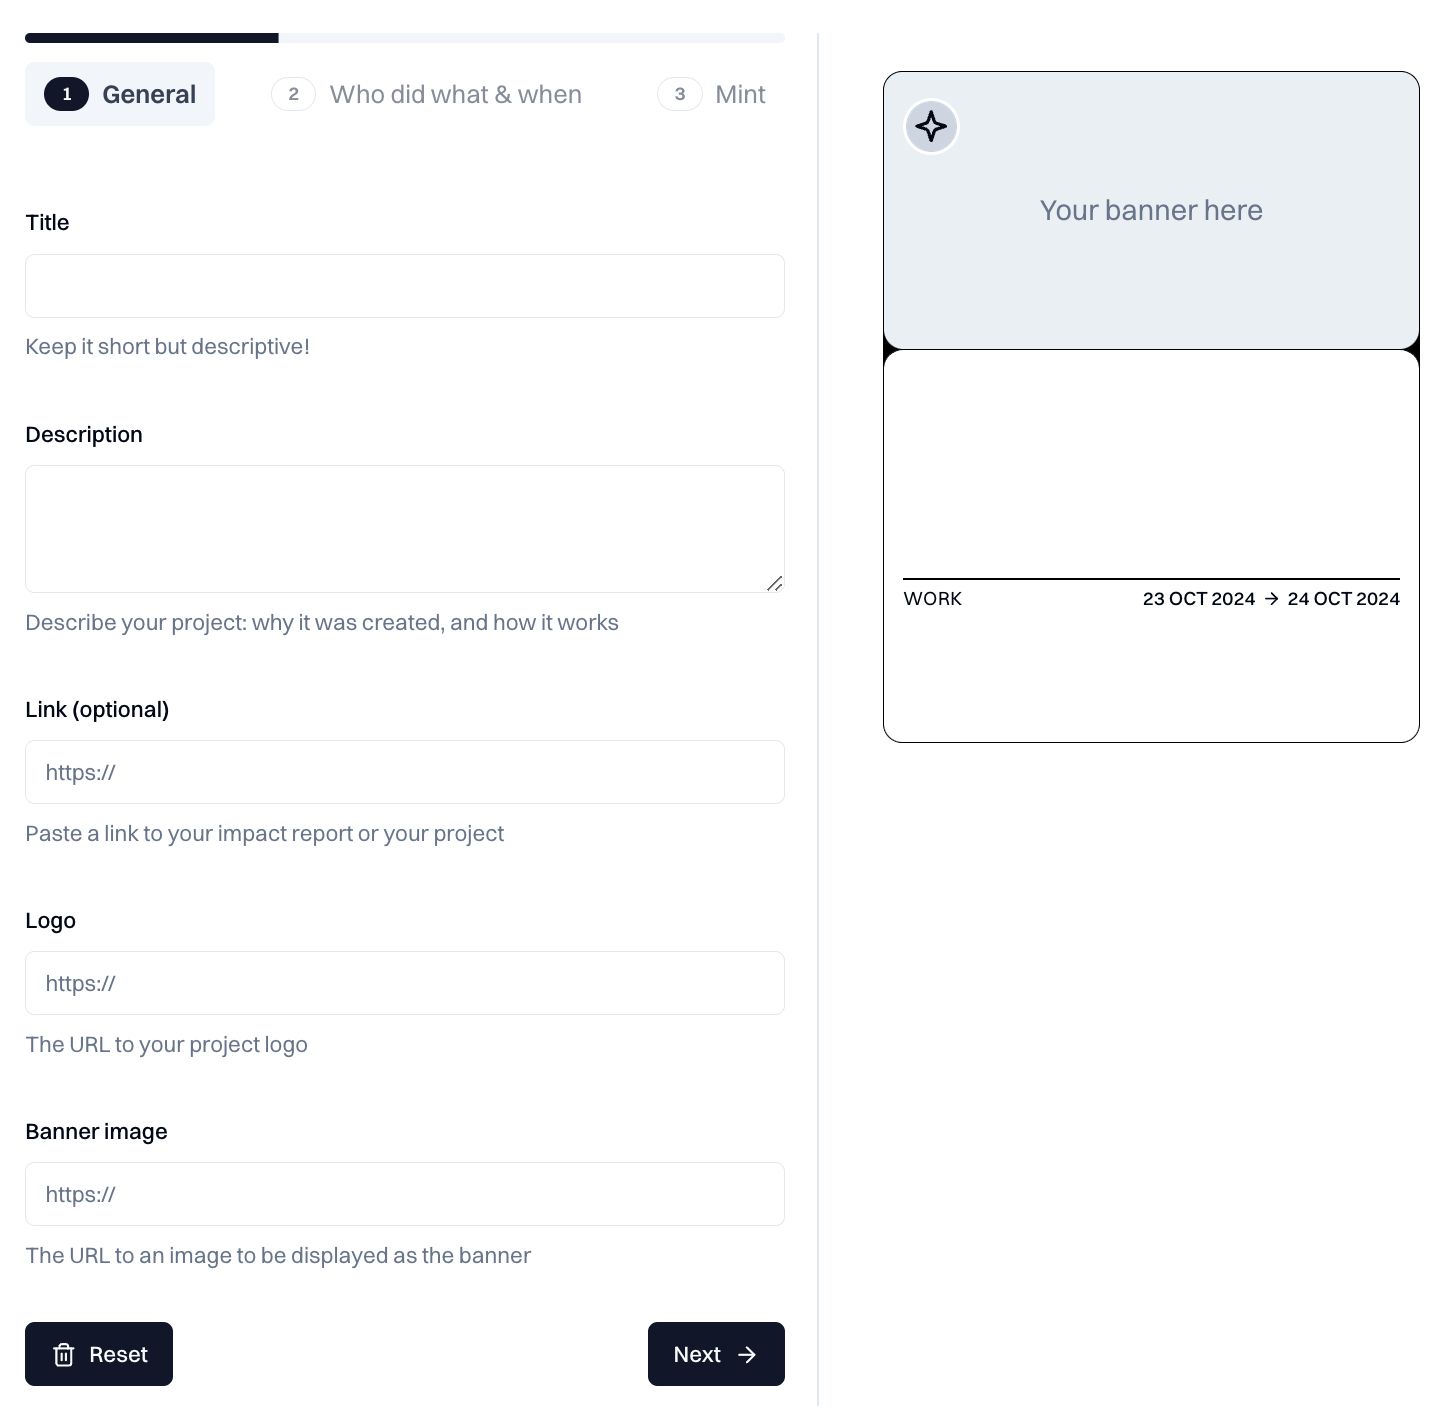
Screenshot of tab 1 of new hypercert form
1. Title
Enter the name or title of the hypercert. This is the place to be verbose and specific about what the project is doing.
Given that a project may create numerous hypercerts over time, consider giving the hypercert a name that represents a discrete phase or output.
The title is restricted to 100 characters but may include emojis (😄), accents (é), non-Latin scripts (表情), and other Unicode characters. You'll see on the preview when your title becomes too long for the hypercert card.
2. Description
Enter a human readable description of the hypercert. This is the place to share more details about the work and the team or individual behind the work.
The description field supports Markdown syntax and has a limit of 5,000 characters.
In addition to the main link (see next field) you can add further links in the markdown to help others to understand the work of the project.
Note: At the moment the view page doesn't yet support Markdown; however, it will be added soon. Hence, we recommend to use Markdown already.
3. Link
A valid URL for the project, beginning with https://, ipfs://, or ipns://
It should link users to a page that has more information about the project or impact claim. For instance, you can add an impact report here.
4. Logo
An icon for the top left part of the card. This could be your project logo.
Logo images look best with an aspect ratio of 1.0 (square-shaped). It will be automatically masked to the shape of a circle.
The easiest way is to find an image in your web browser, right click "Copy Image Address", and paste it in the field.
5. Banner Image
A background image that will extend across the upper half of the artwork. This could be your project masthead or a unique piece of art.
Banner images look best with an aspect ratio of 1.5 (e.g., 600 x 400 pixels). The dimensions should be at least 320 pixels wide and 214 pixels high to avoid stretching.
The easiest way is to find an image in your web browser, right click "Copy Image Address", and paste it in the field.
Who did what & when (second tab)

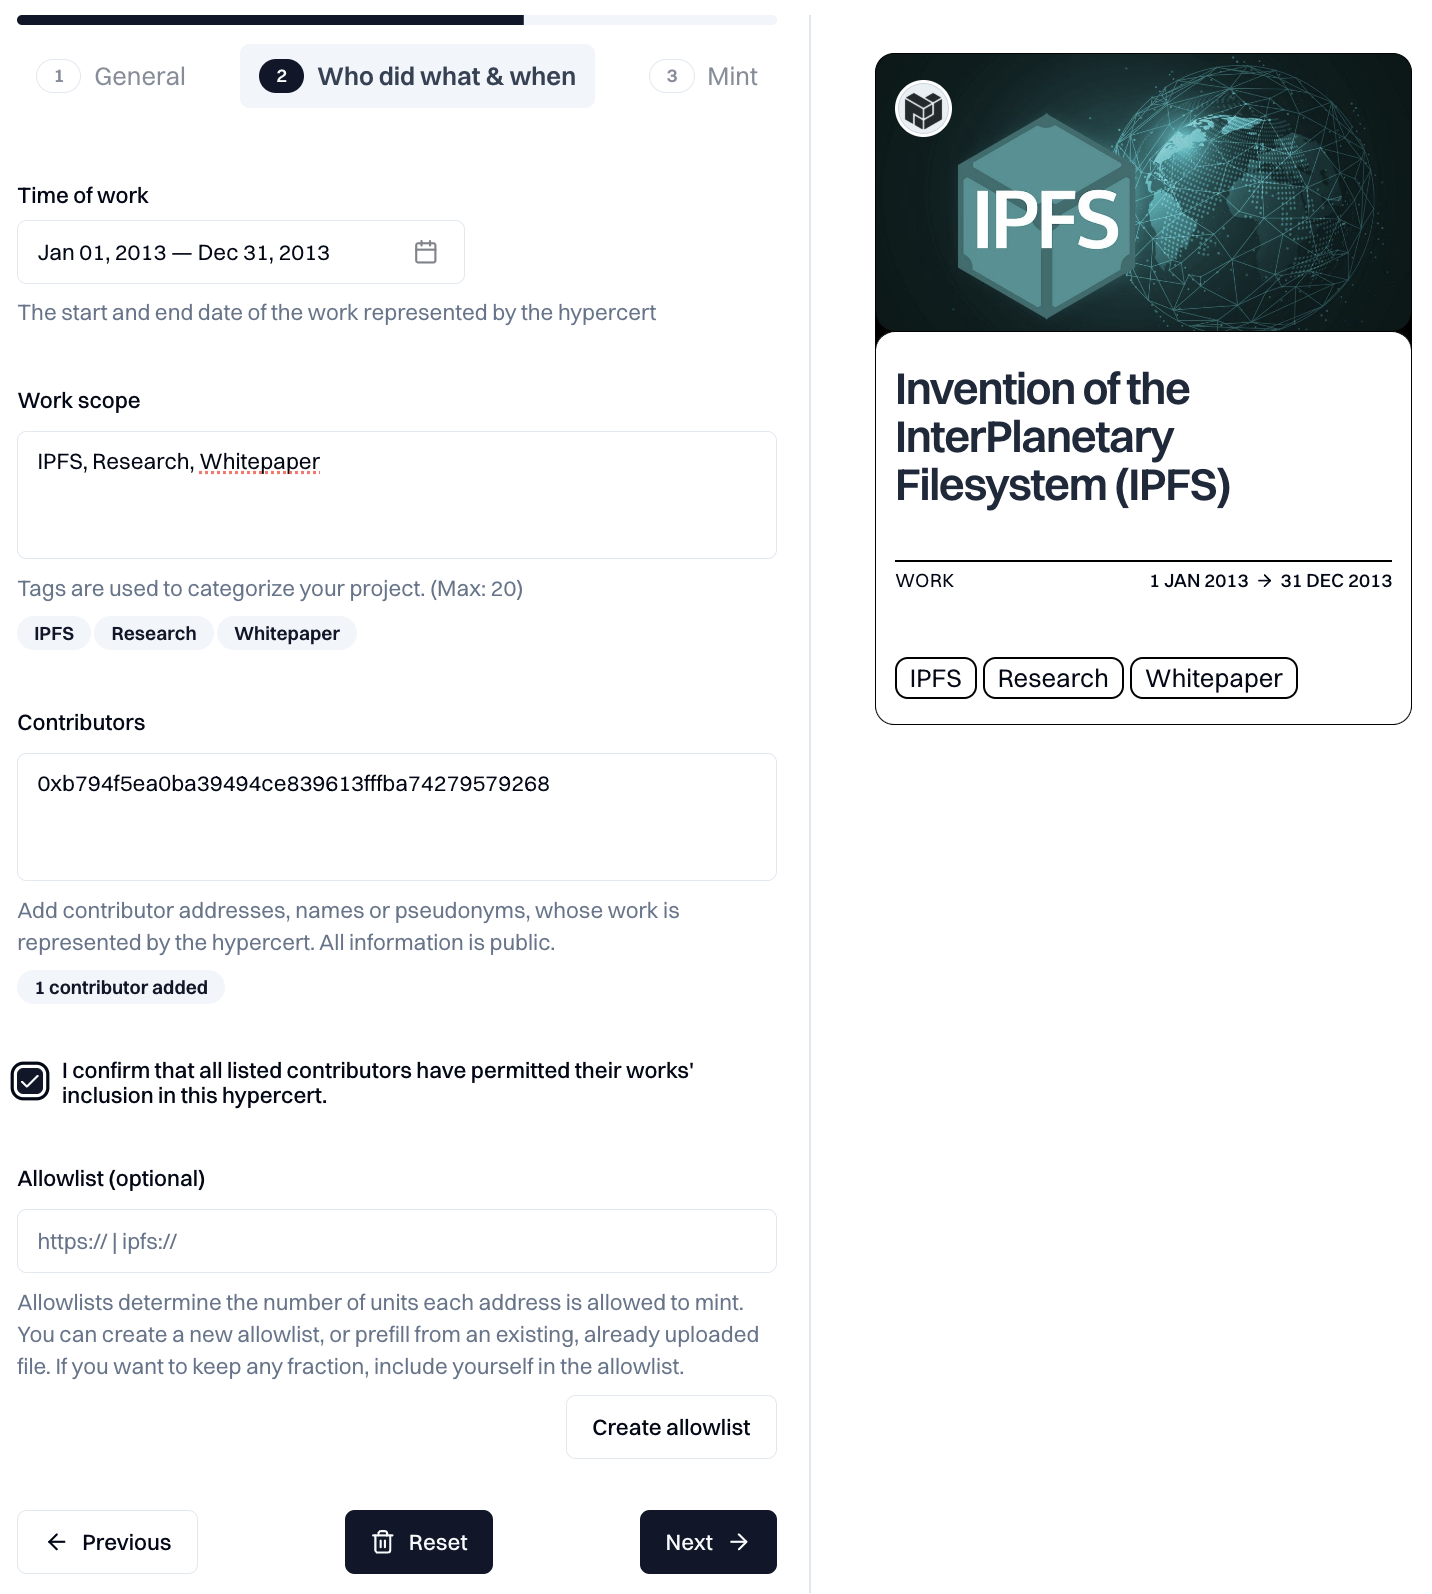
Screenshot of tab 2 of new hypercert form
6. Work Scope
The work scope is defined using one or more tags that describe the work represented by the hypercert. These tags help identify the specific work included in the hypercert, as well as what is excluded.
Multiple tags are logically conjunctive, e.g. Planting trees ∧ Germany means the hypercert covers only the planting of trees in Germany, excluding tree planting elsewhere or other activities in Germany unrelated to tree planting. Unlike traditional tags, these work differently and carry a precise logical meaning.
Recommended use of tags:
- For most projects, it's probably best to start with a short form of your project's name.
- If you want to create a hypercert for only a specific part of your project, simply add additional tags to narrow down the scope. Each additional tag further refines the work scope.
- If you want to explicitly exlude some work, add a tag with the negation operator
¬.
7. Time of Work
The work time period defines when the work was done that the hypercert represents, i.e., only the work in this time period is included in the hypercert.
This time period does not necessarily need to correspond to the start and end dates of an entire project, though it can. A single project can be divided into multiple hypercerts, each representing work from different time periods (e.g., quarters or years) while sharing the same work scope. In such cases, the time periods must not overlap.
8. Set of Contributors
Provide a list of contributors, one per line, or comma-separated. The list should include all contributors that performed the described work.
Contributors are generally itemized as wallet addresses or ENS names, but can also be names / pseudonyms. Groups of contributors can be represented by a multisig or name of an organization.
You need to confirm that all listed contributors have permitted their works' inclusion in this hypercert.
9. Owners and allowlist
The allowlist allocates fractions of the hypercert to specific wallet addresses. These wallet addresses are then allowed to claim these fractions afterwards. For example, it can be used to allocate fractions to previous funders and contributors.
You can submit an already available allowlist, create a new one or upload a CSV file. If you want to keep any fraction, include yourself in the allowlist.
The allowlist is implemented as a CSV file specifying address,units headers. You can find a template here.
| address | units |
|---|---|
| 0x5dee7b340764c49a827c60d2b8729e49405fbefc | 300000000000000000 |
| 0x1e2dbb9ca3f6d48e085384a821b7259abfdc7d65 | 200000000000000000 |
| ... | ... |
| 0x436bad18642f45d3fa5fcaad0a2d81764a9cba85 | 100000000000000000 |
Hypercerts are minted with a total supply of 1 ether (10^18 units). This means the total number of units in the allowlist needs to sum to 10^18.
If your allowlist is not properly formatted, you will be unable to mint your hypercert. If you do not include an allowlist, then you as the creator of the hypercert will receive 100% of the hypercert, which you can then sell or transfer to another wallet a maximum of one time.
Mint your hypercert (third tab)

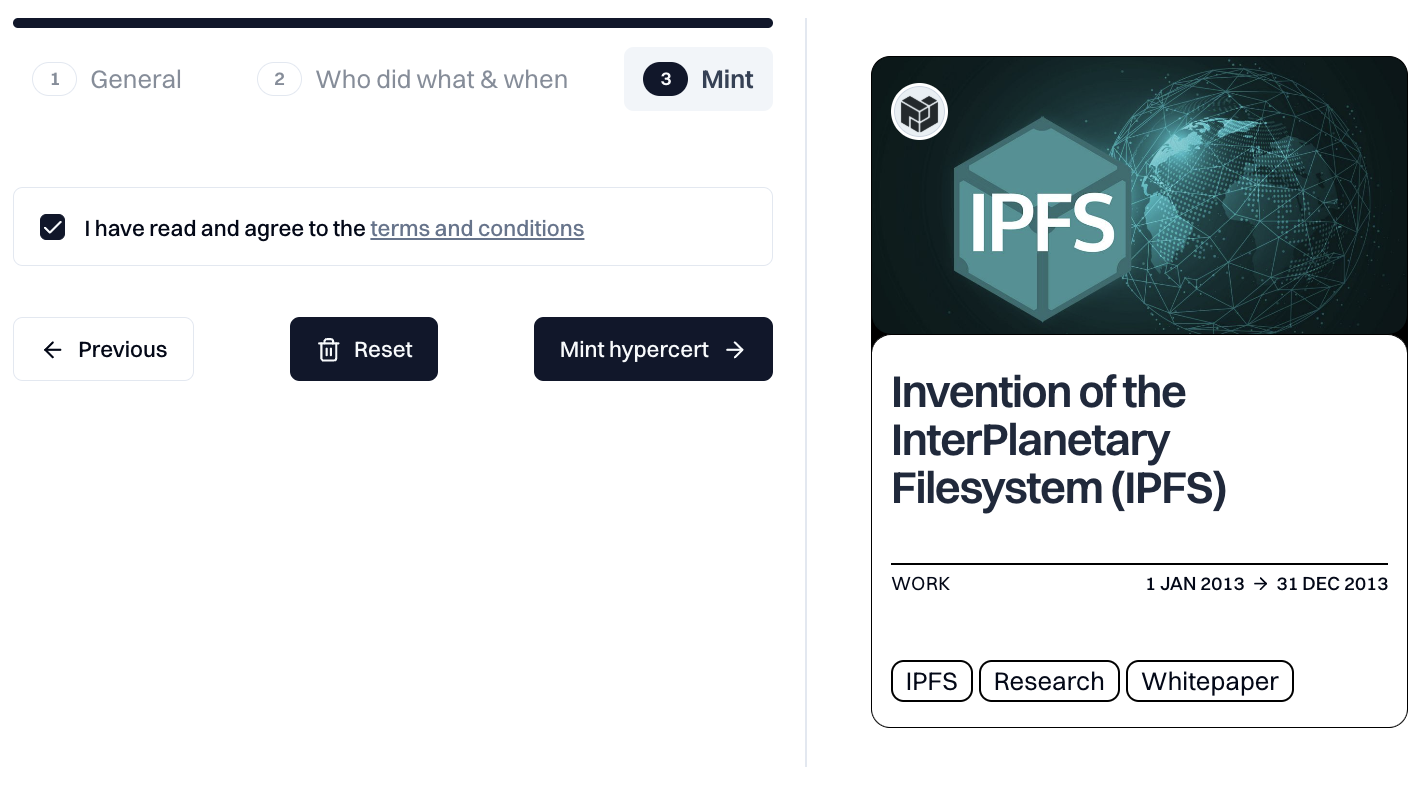
Screenshot of tab 3 of new hypercert form
Ensure you have enough tokens to cover the gas fees—typically less than $0.10 USD. Once you’ve agreed to the terms and conditions, you’re all set to mint your hypercert.
🎉 Congratulations! Your hypercert has been successfully minted. You’re now ready to list it for sale and secure funding for your project.
Future releases
In future release, you will be able to modify additional fields. In this release, you can't change their default value. If it is necessary for your project to adjust these default values, please contact us in our support channel on Telegram.
Impact Scope
The impact scope can be used to limit the impact that a hypercert represents, e.g. for the work scope Planting trees a hypercert can represent only the impact on biodiversity by including the impact scope tag Biodiversity. This would exclude all other impacts, including the impact on CO2 in the atmosphere, which can be useful if that impact is already captured by a carbon credit.
In the current release, this is set to "all", i.e. every impact the work has is included in the hypercert.
Just like the work scope, multiple impact scope tags are logically conjunctive.
Time of Impact
The impact time period is another way to limit the impact that a hypercert represents, e.g. inventing a new medical treatment has a positive impact over many years, but we might want to capture the positive impact separately for each year.
By default the impact start date is the same as the work start date and the impact end date is "indefinite", i.e., the impact is not restricted time-wise.
Rights
This field defines the rights that owners of the hypercert have over the work being claimed by this hypercert.
By default this is set to Public Display, i.e., the owners are allowed to publicly display the hypercert and show their support of the work.